
- May 18, 2025
- Comments Off on Part 1: Behind the Scenes: A Day in the Life of an Aviation Photographer
- Posted by Aviation_Photographer
- Photography
Part 1: Behind the Scenes: A Day in the Life of an Aviation Photographer
Most people think being an aviation photographer means pointing a camera at a plane and hitting a button. Truth is, there’s a lot more behind the lens, especially when you’re working with ultra-luxury business jets and custom interiors where every detail is deliberate. And for me, every detail matters. And, as you’ll find out, A Day in the Life of an Aviation Photographer is a little longer than just a day.
Let’s rewind to a shoot I just wrapped. This one started back in November with early conversations about scheduling. We originally eyed February, but after some project delays, redesigns, and logistics, the final date didn’t lock until May. Even then, a last-minute reschedule pushed the departure back another week. That actually gave me time to squeeze in a Gulfstream 4 shoot in California before I flew out May 14 at 7 PM. Or so I thought.
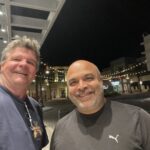
Fraser Almeida looking way better than me at 2 am!
Denver storms grounded the flight. We finally boarded just after midnight. My good friend (and phenomenal photographer) Fraser Almeida still picked me up despite the late hour: legend. After baggage delays and hotel navigation, I finally crashed at 2 AM. Exhausted, tired, and unfocused but I had all my gear and I was ready.
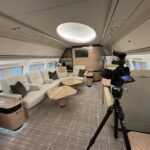
Our plane, a BBJ (Boeing Business Jet) class jet, was scheduled to depart at 2 PM, which gave us a narrow window to shoot a good number of images in. I had worked closely with the interior designer (ID) over the preceding moth to develop a shot list of 22 “must-have” compositions, with 10 more as creative options. These weren’t arbitrary; every shot had a purpose. The designer and I talked in detail about what needed to be highlighted: materials, flow, line of sight, overall mood. He had a vision, and I was there to visually realize it.
Shoot Day- A Day in the Life of an Aviation Photographer
I scheduled an Uber for 7:30 AM and grabbed a solid breakfast at the Marriott Bonvoy hotel, made-to-order omelet, fresh-squeezed OJ, and killer coffee. That actually helped me shake off the travel fatigue.
Arriving early at the hangar, the designer, his assistant, and the ground captain were already there. I asked if Fraser could assist, and with clearance granted, he was on his way.
The jet had shore power already connected. First thing I do? A full walkthrough with the designer and assistant. I’m scoping lighting, angles, and reflections. He’s adjusting florals, seating, details. We reviewed the floor plan together and aligned it to our pre-arranged shot list. This step is huge. It’s collaborative. I’m not just documenting, I’m interpreting someone else’s artistry. I asked intentional questions like:
What features are you most proud of? Where do you want the viewer’s eye to go?
These conversations guide the visual narrative I build.
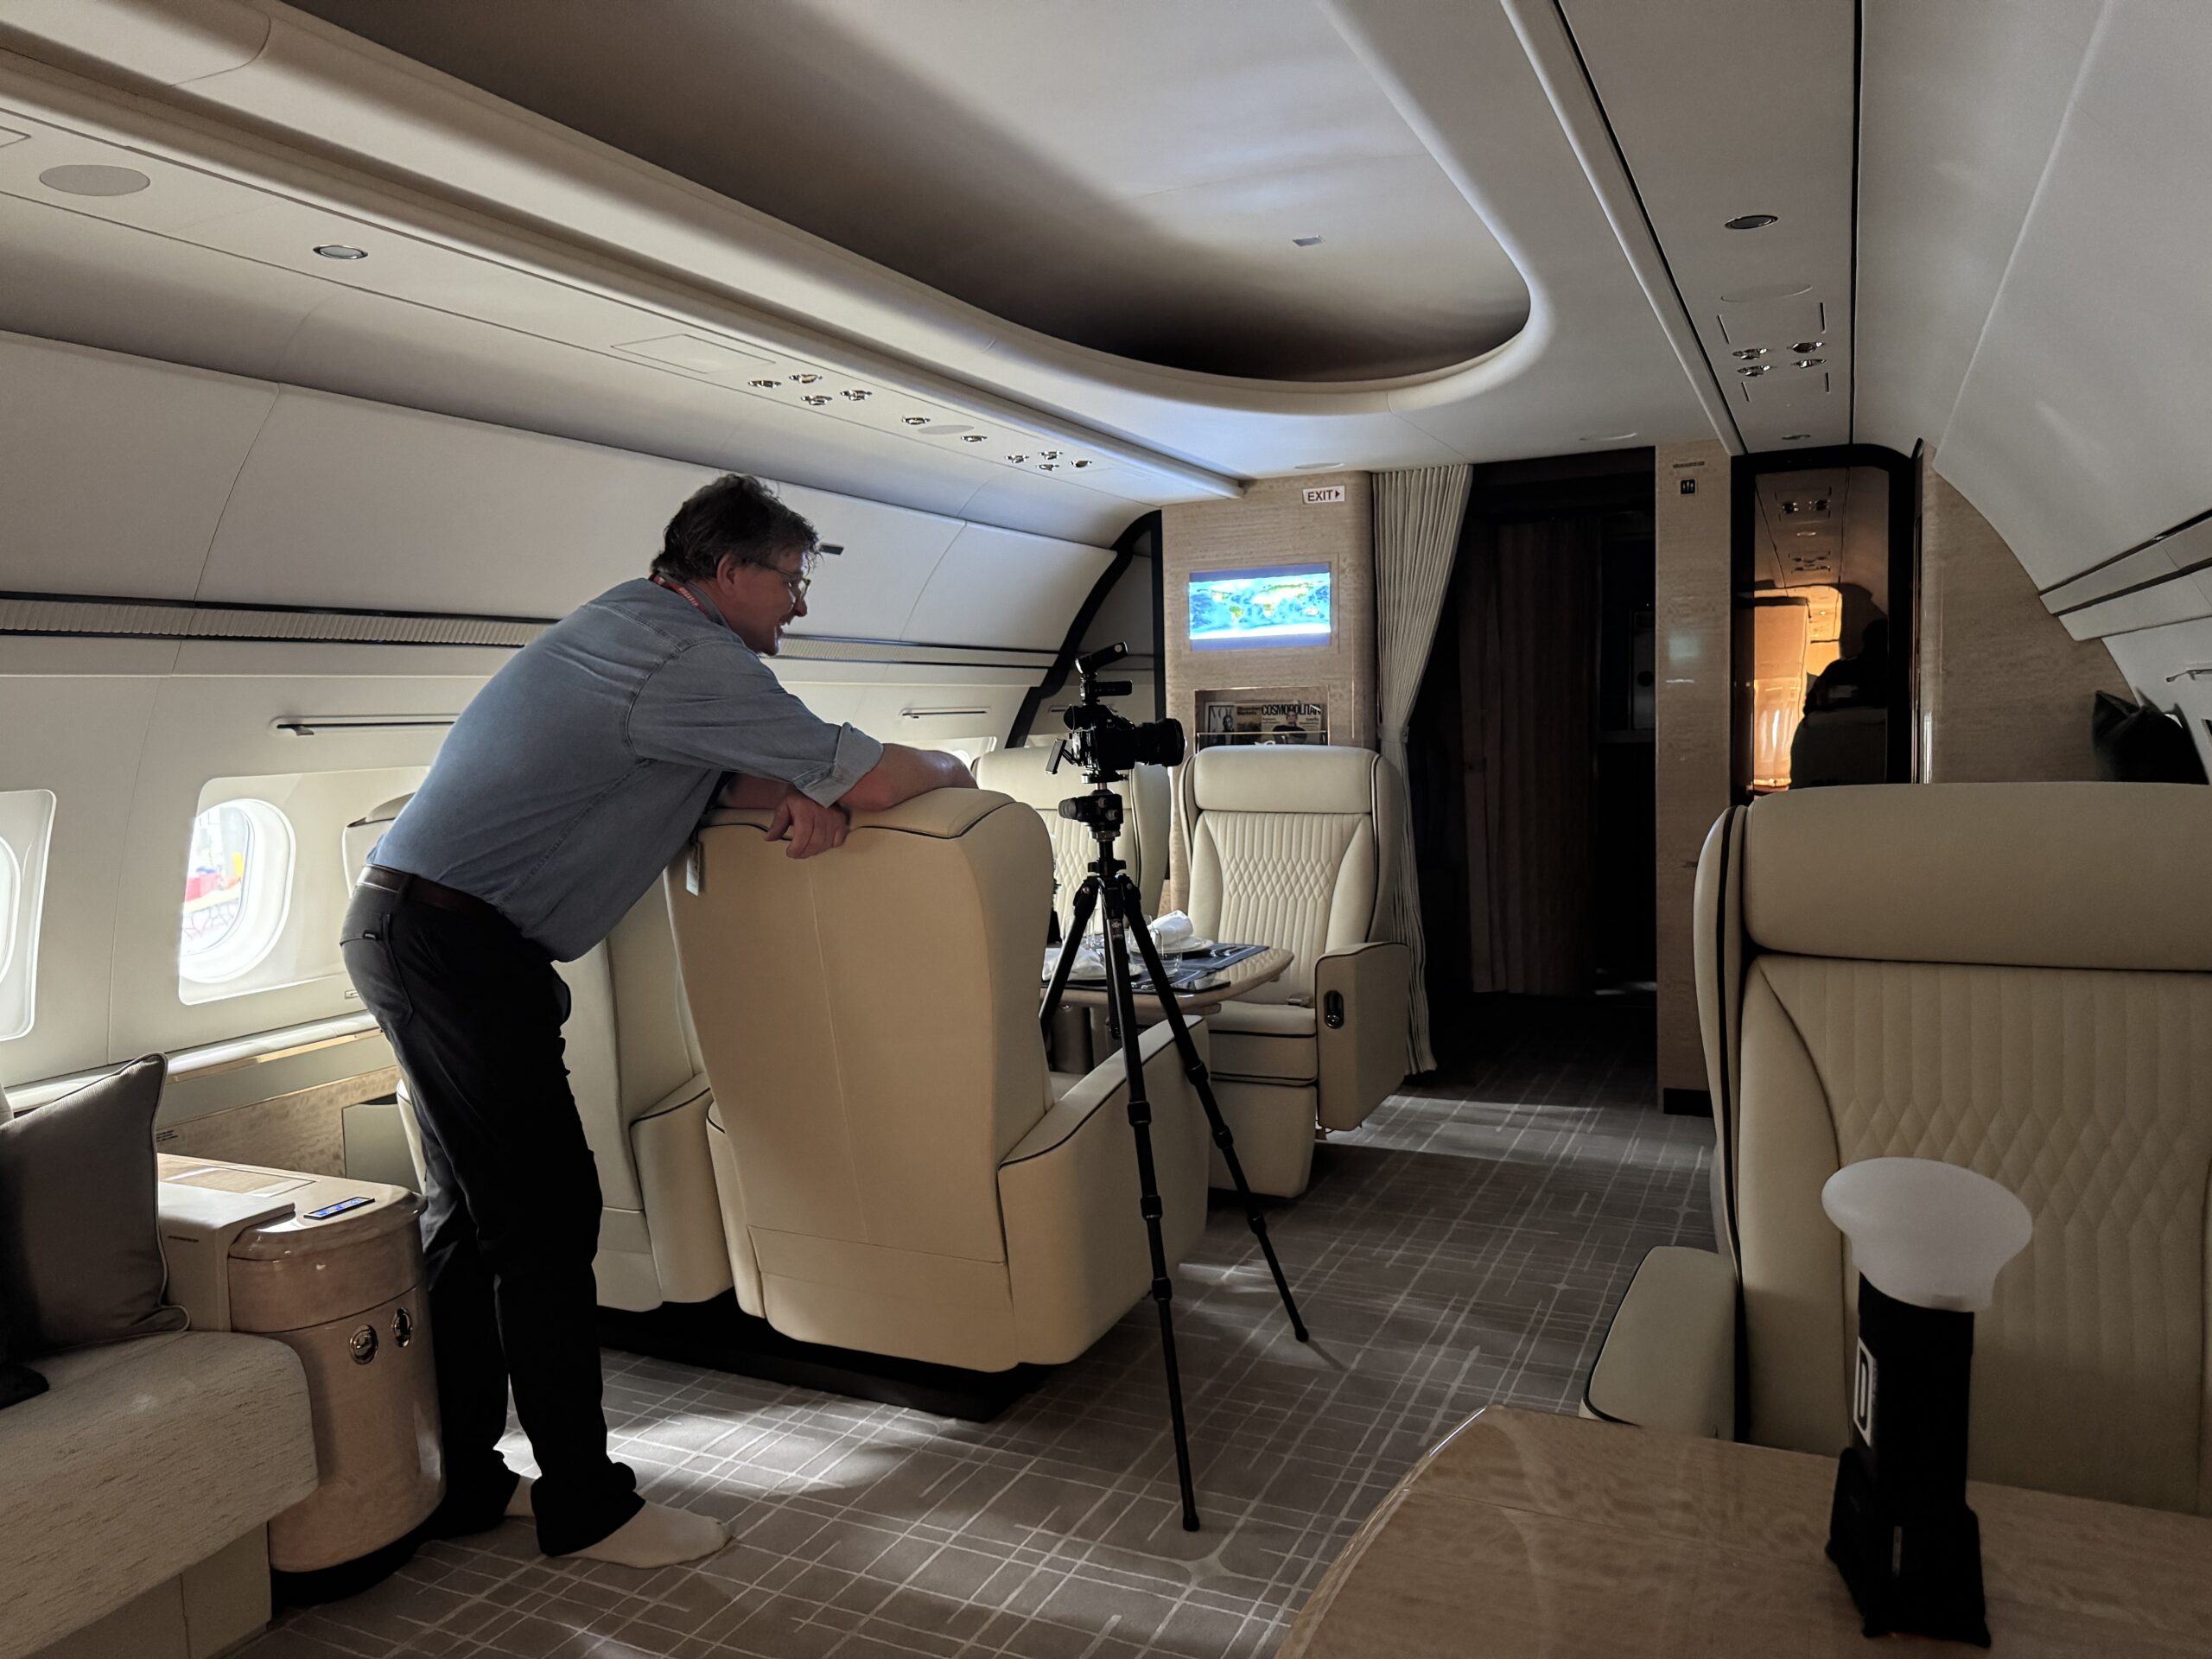
We started shooting fore to aft. It’s a system I use to stay organized and ensure nothing gets missed. As always, I began with minor shots, easing into the rhythm. The first major task? The hero shot of the main cabin.
Setting up shot 4
This space was unusually generous; wide aisles that let me move freely around the setup. A rare treat. I checked the visual centerline and confirmed it with the designer. “As long as they built it like I designed it, yeah,” he laughed. I took that as gospel and positioned for a single-point perspective (SPP). I set up three AD200s with Magmod Spheres for bounce lighting, and an AD100 Pro to handle the hallway. Simple, soft, sculpted.
I chose a 17mm tilt-shift lens… not my go-to, but the best tool for the job. I backed up, centered the lens, and began the exposure sequence: three left shifts, three right, all bracketed 7 shots wide, 1 stop apart. Afterward, I reshot everything with cabin lights off to get natural hangar spill. Then I reversed flash placement for dimensionality. All said, I ended up with about 70 images just for that one frame because this image had to work. I didn’t want it to just look nice, I wanted it to something about the designer’s intention.
Reviewing on set is part of my process. I look for blown highlights, underexposed sections, reflection errors. Are the window exposures in the range I need? Are the highlights under control? Where is the color contamination, and how can I fix that? Is anything unintentionally drawing the eye? I scrub for issues, even in elements like overhead lighting bands or window trims… and then I fix them. I take as many images as I need to address any problems I find. This is where experience is invaluable… if you have never faced a probelm, you won’t recognize it when you see it in review.
Now, it’s time to make some images. Let’s have at a day in the life of an aviation photographer!
The story of this shoot will continue in Part Two of Behind the Scenes: A Day in the Life of an Aviation Photographer.
Views: 56
- Aircraft Interior Photography
- Aviation Photography
- BBJ
- Behind the Scenes Photography
- Business Jet Photography
- Professional Aviation Photographer
